
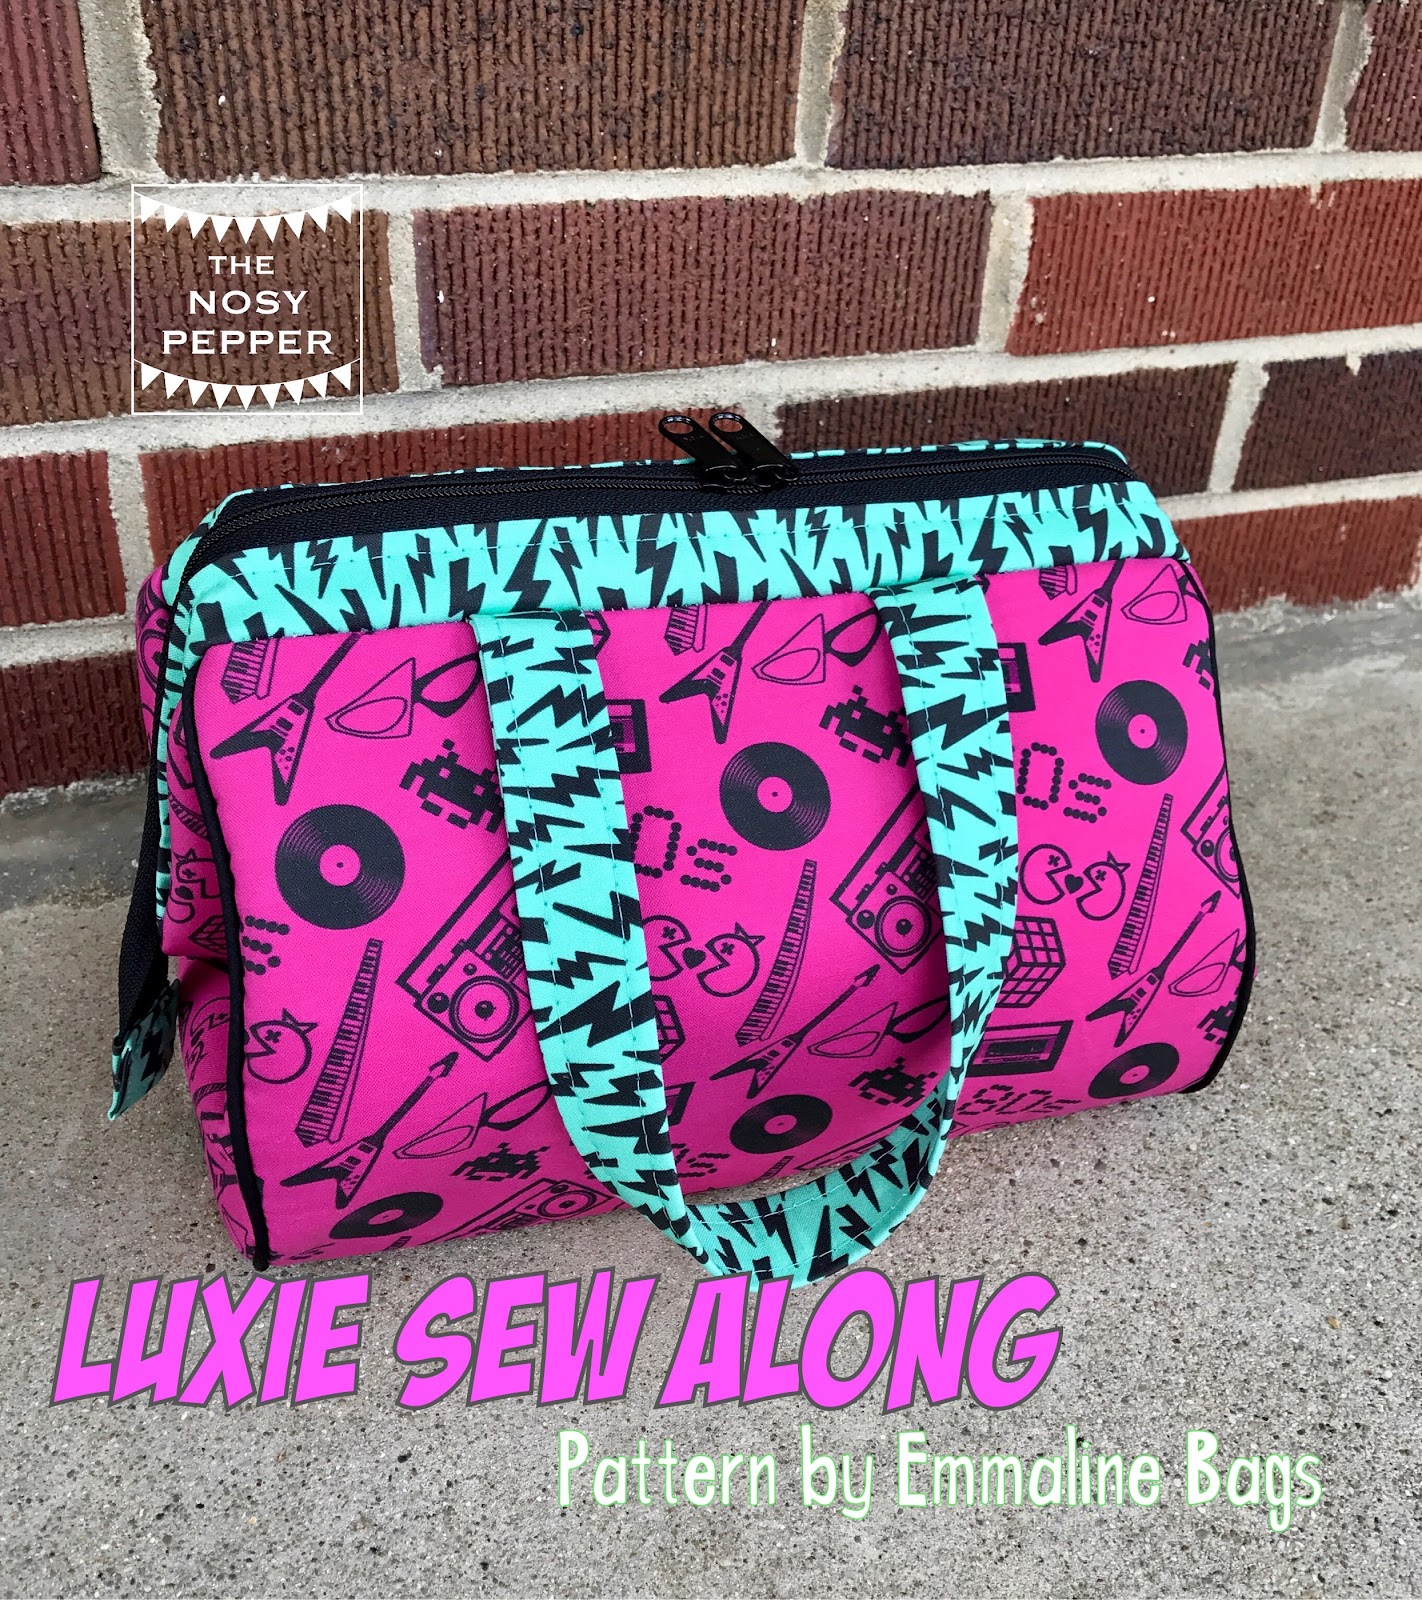
Welcome back! Today is day 2 of our Luxie Sew along! By now you should have your pieces all cut and ready to start sewing.
Today we are going to focus on getting our zippers ready and making our handles. If you are choosing to make your own piping, today is the day to do that. Deep breath here, piping is NOT hard, I promise! Janelle gives great directions in the pattern for making your own. I am hopelessly lazy and would rather just pick up a pattern of premade from the fabric store. It runs about 2 bucks and I always use a coupon with it. If you are so inclined to make your own, there are some great tutorials out there if you need a little more help like this one from Swoon Patterns & this one from Sew Sweetness.
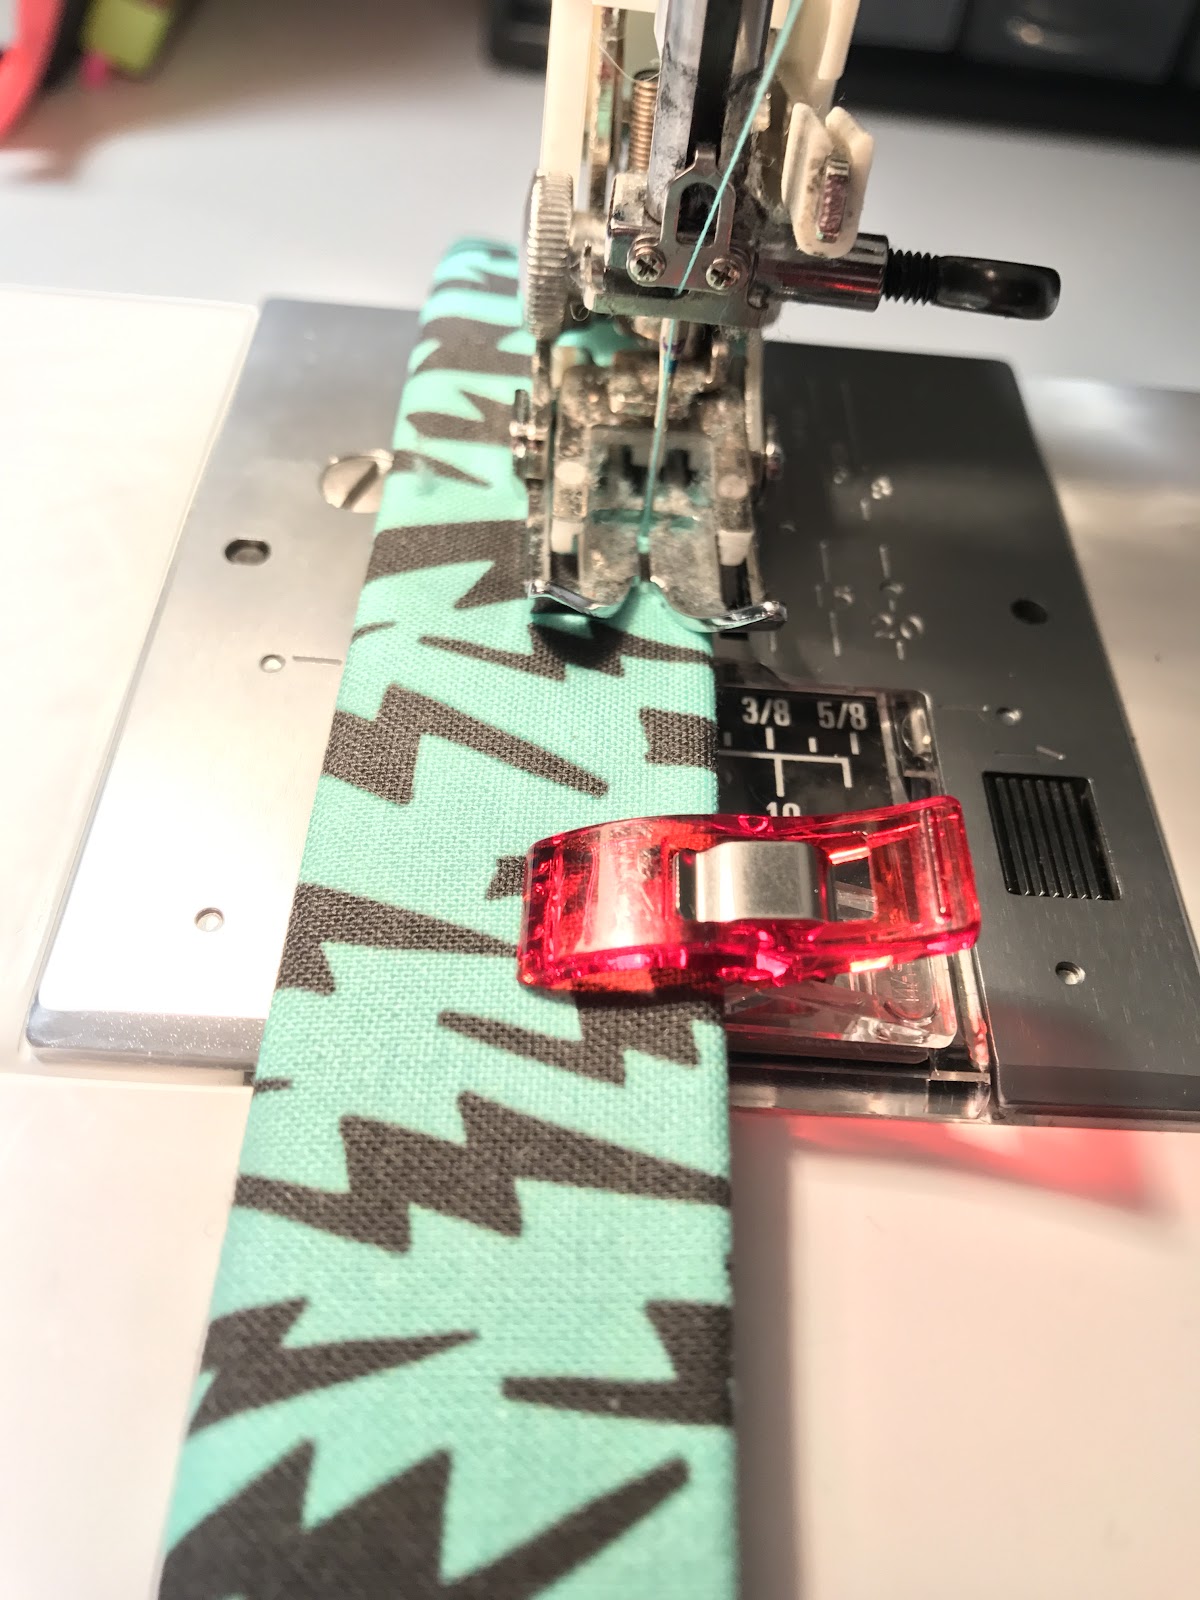
Making the handles:

The handles are constructed as most bag handles are. Take your fabric and press it in half, wrong sides together along the length of your handle. Then open that strip back up and press the raw edges into the fold you just made.

Press well so all your raw edges are encased now, clip or pin together.
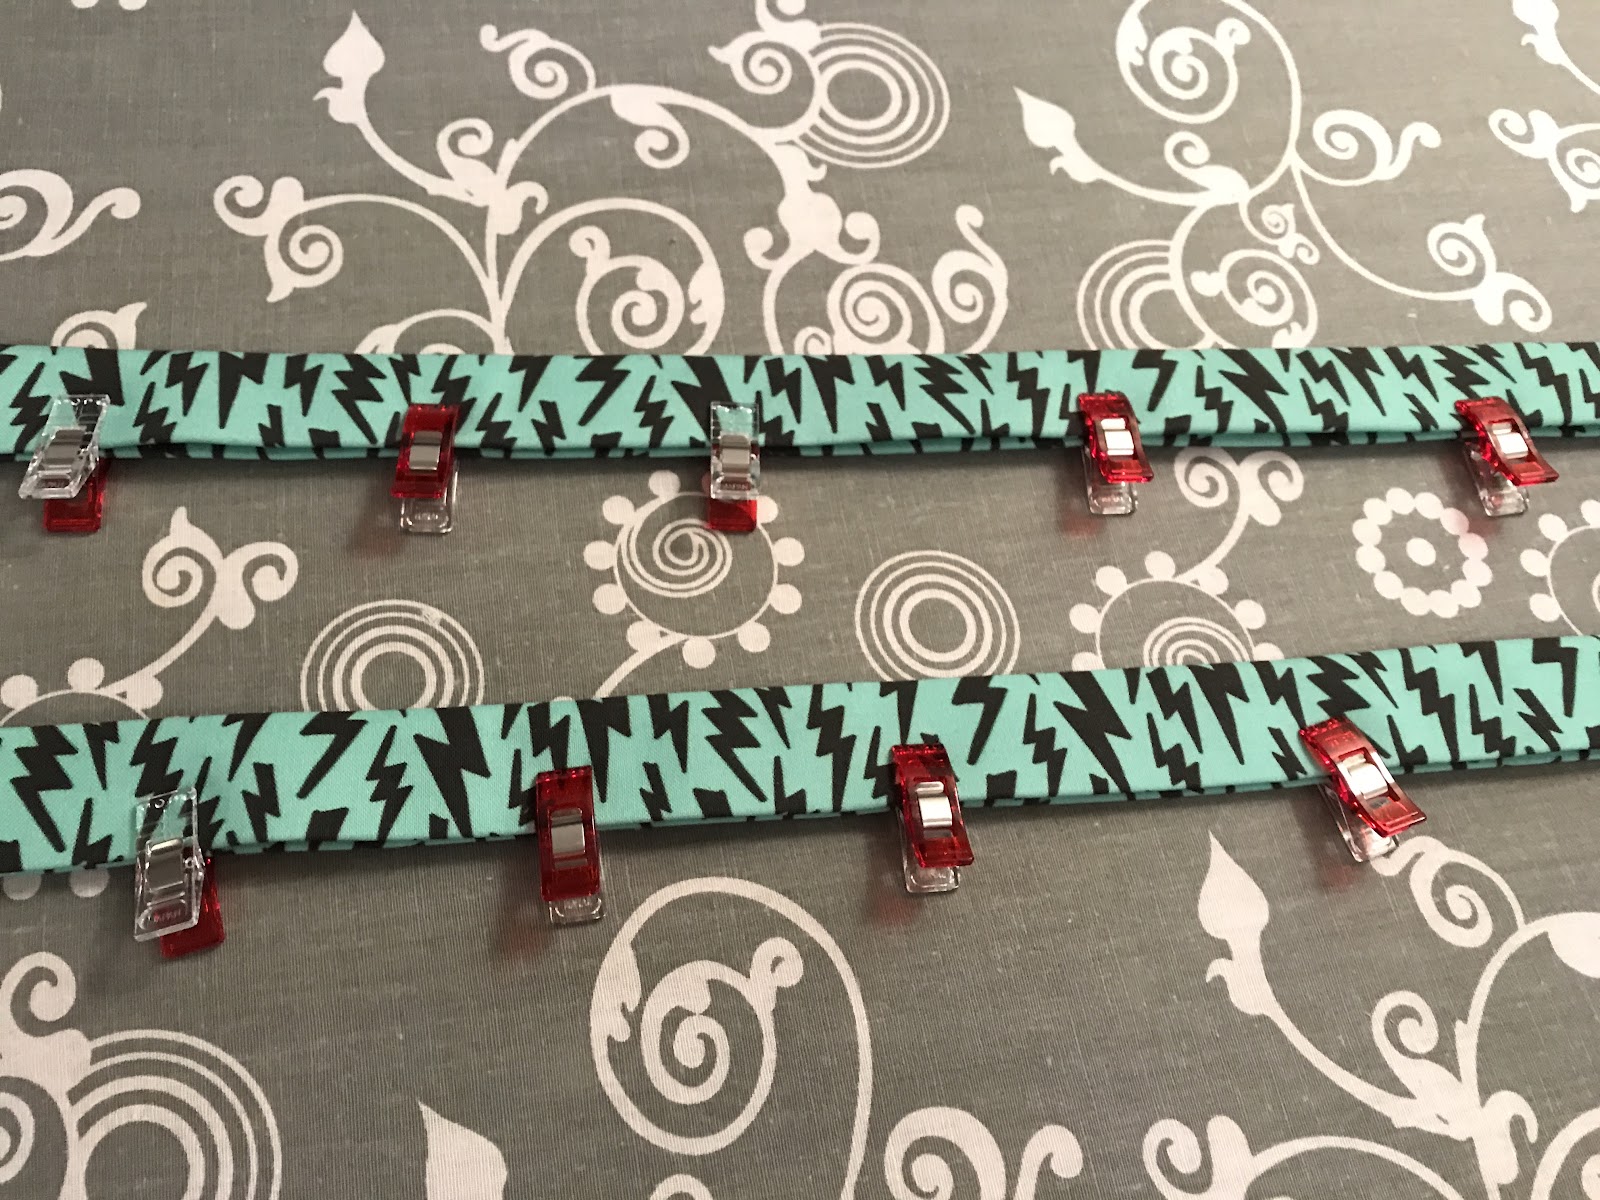
Sew along all sides and then set your completed Straps, if choosing to roll your handles, follow the directions in the pattern then set your straps aside for now.
Making the zip ends:
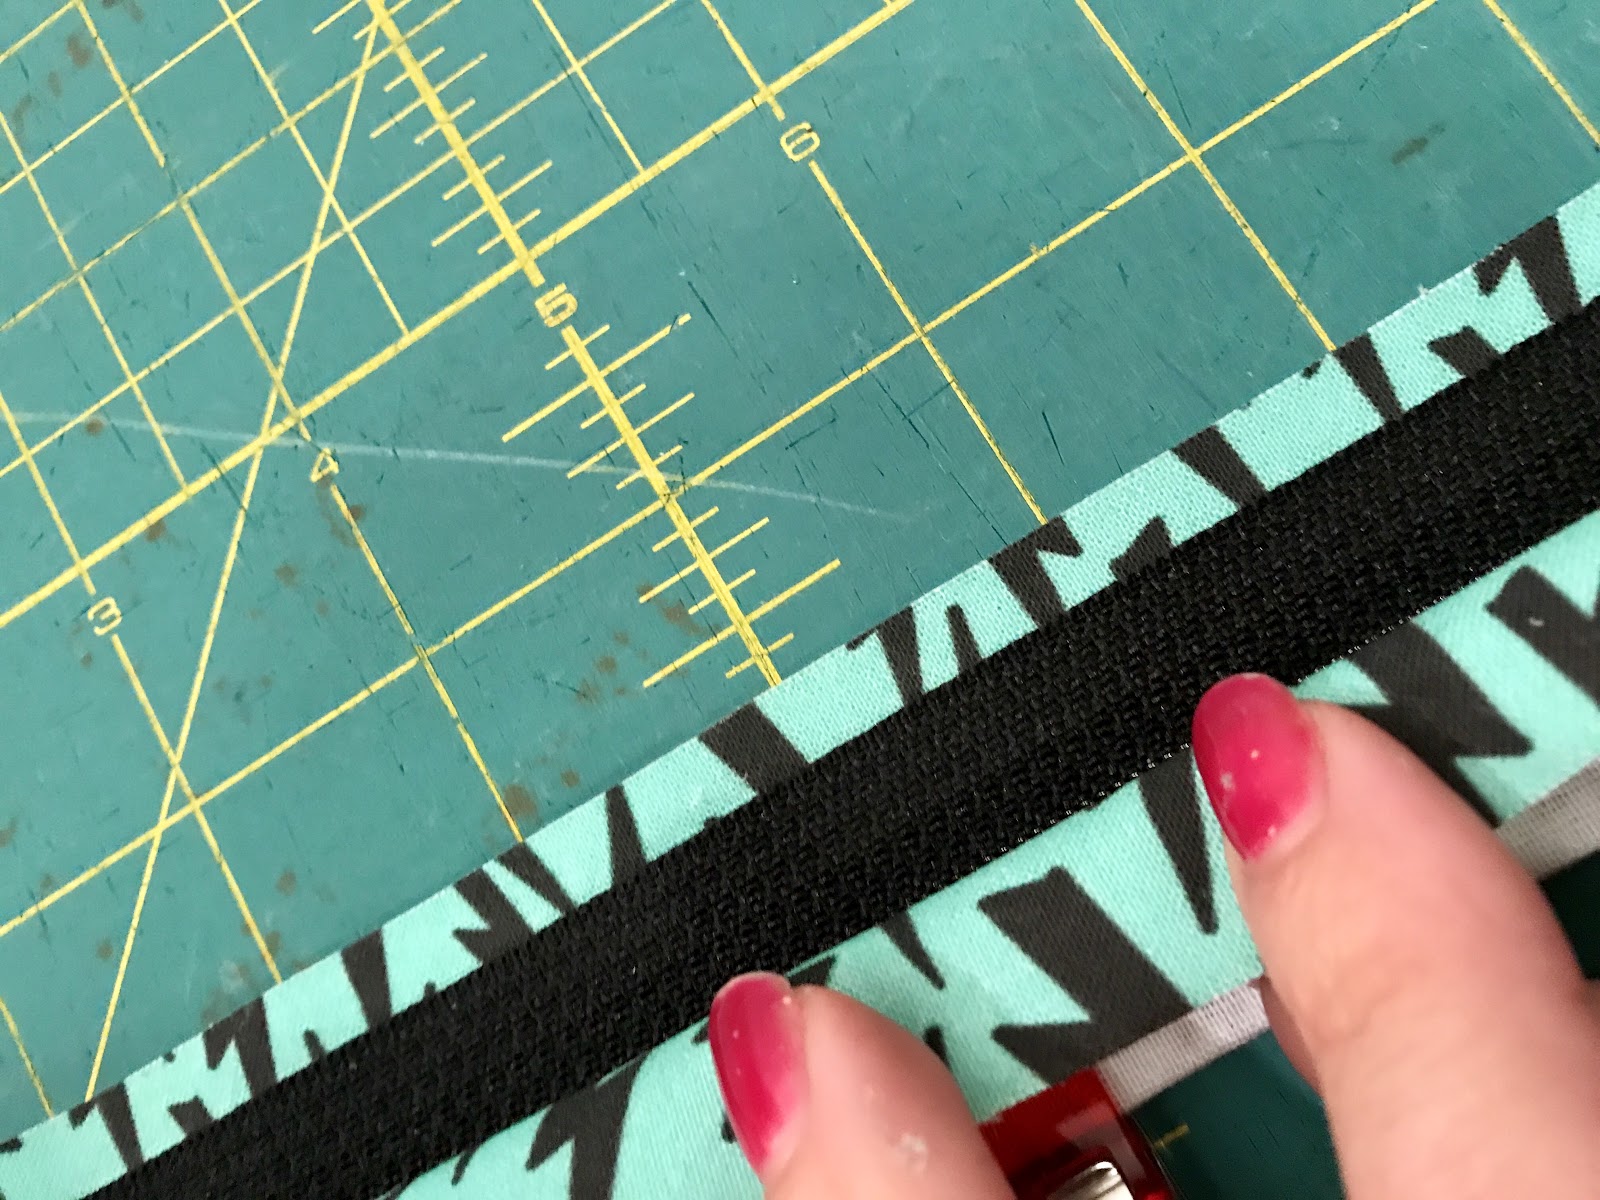
Take your zip end piece and press each side of the short ends in ½”
Then fold your other raw ends under as directed in the pattern and slide them onto the ends of your prepared zipper.
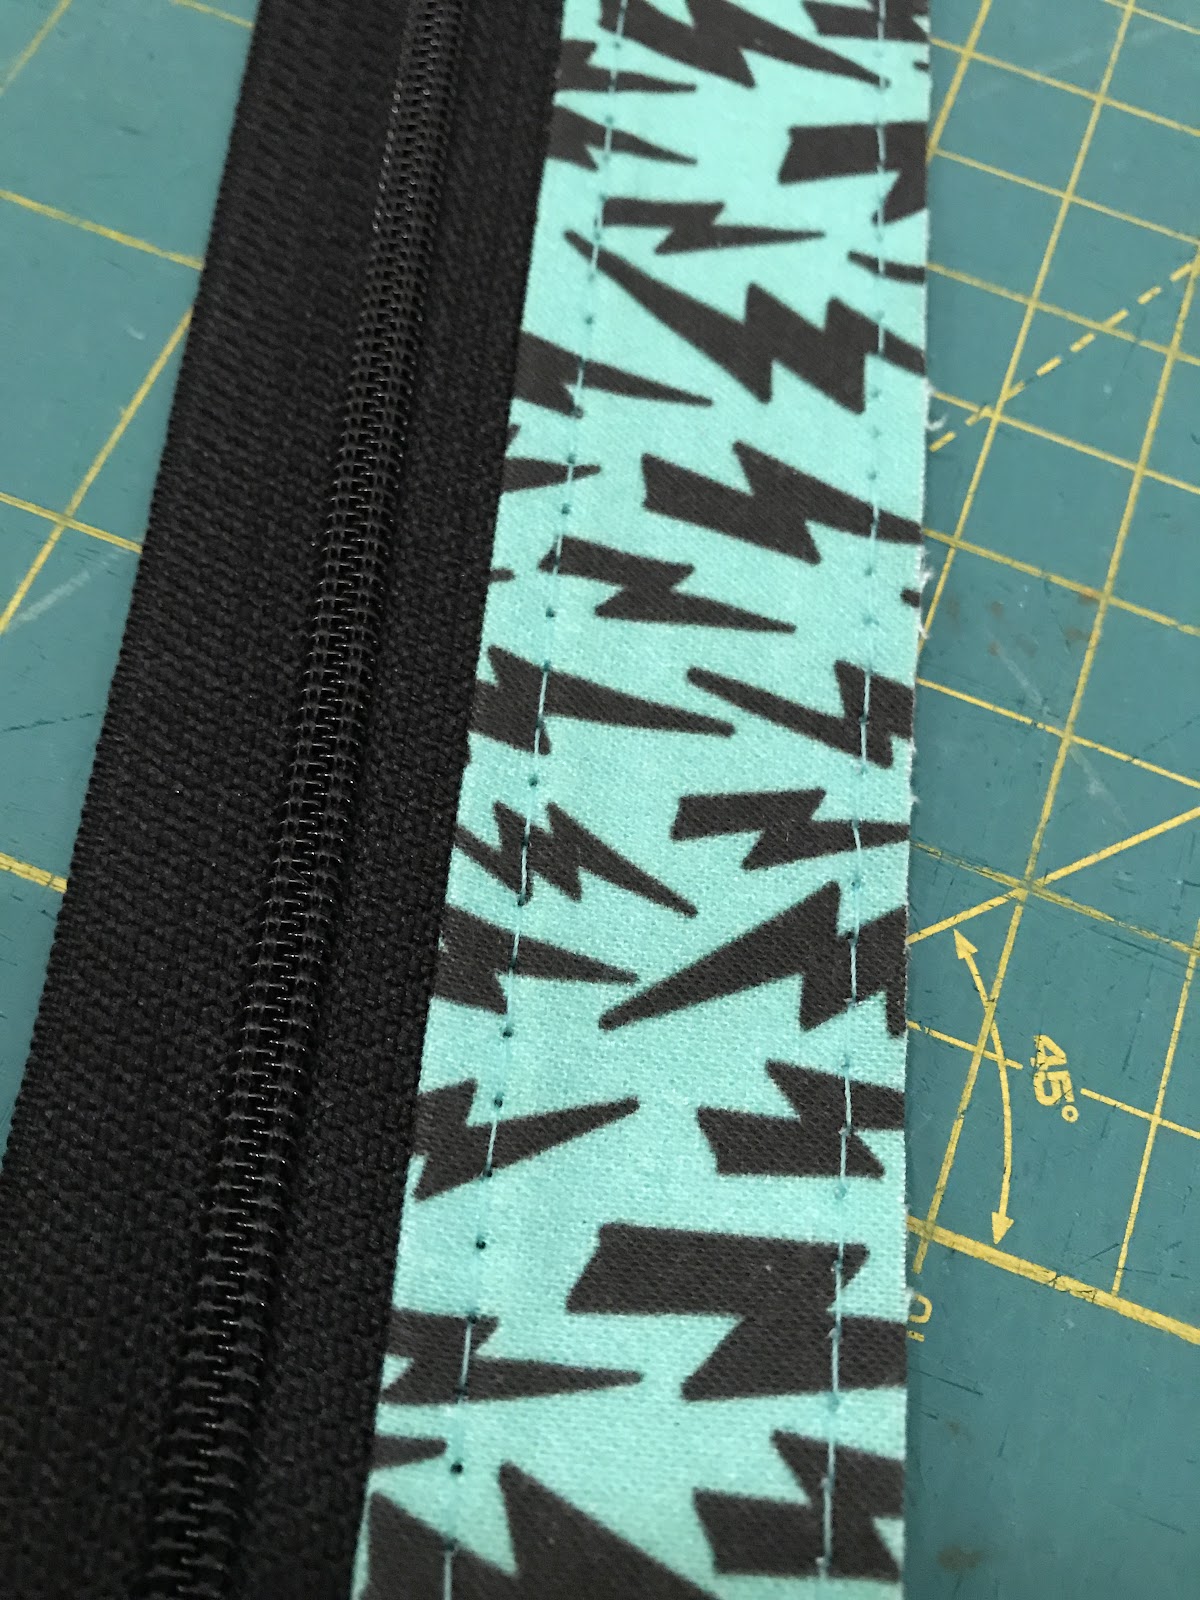
Making the zip casing for the top of the bag:
I absolutely LOVE the way this is done. By far this is the easiest method I've ever seen for putting in a zip casing, or a zippered top for that matter.
Take your long zippered casing and fold under each of the short ends ¼”
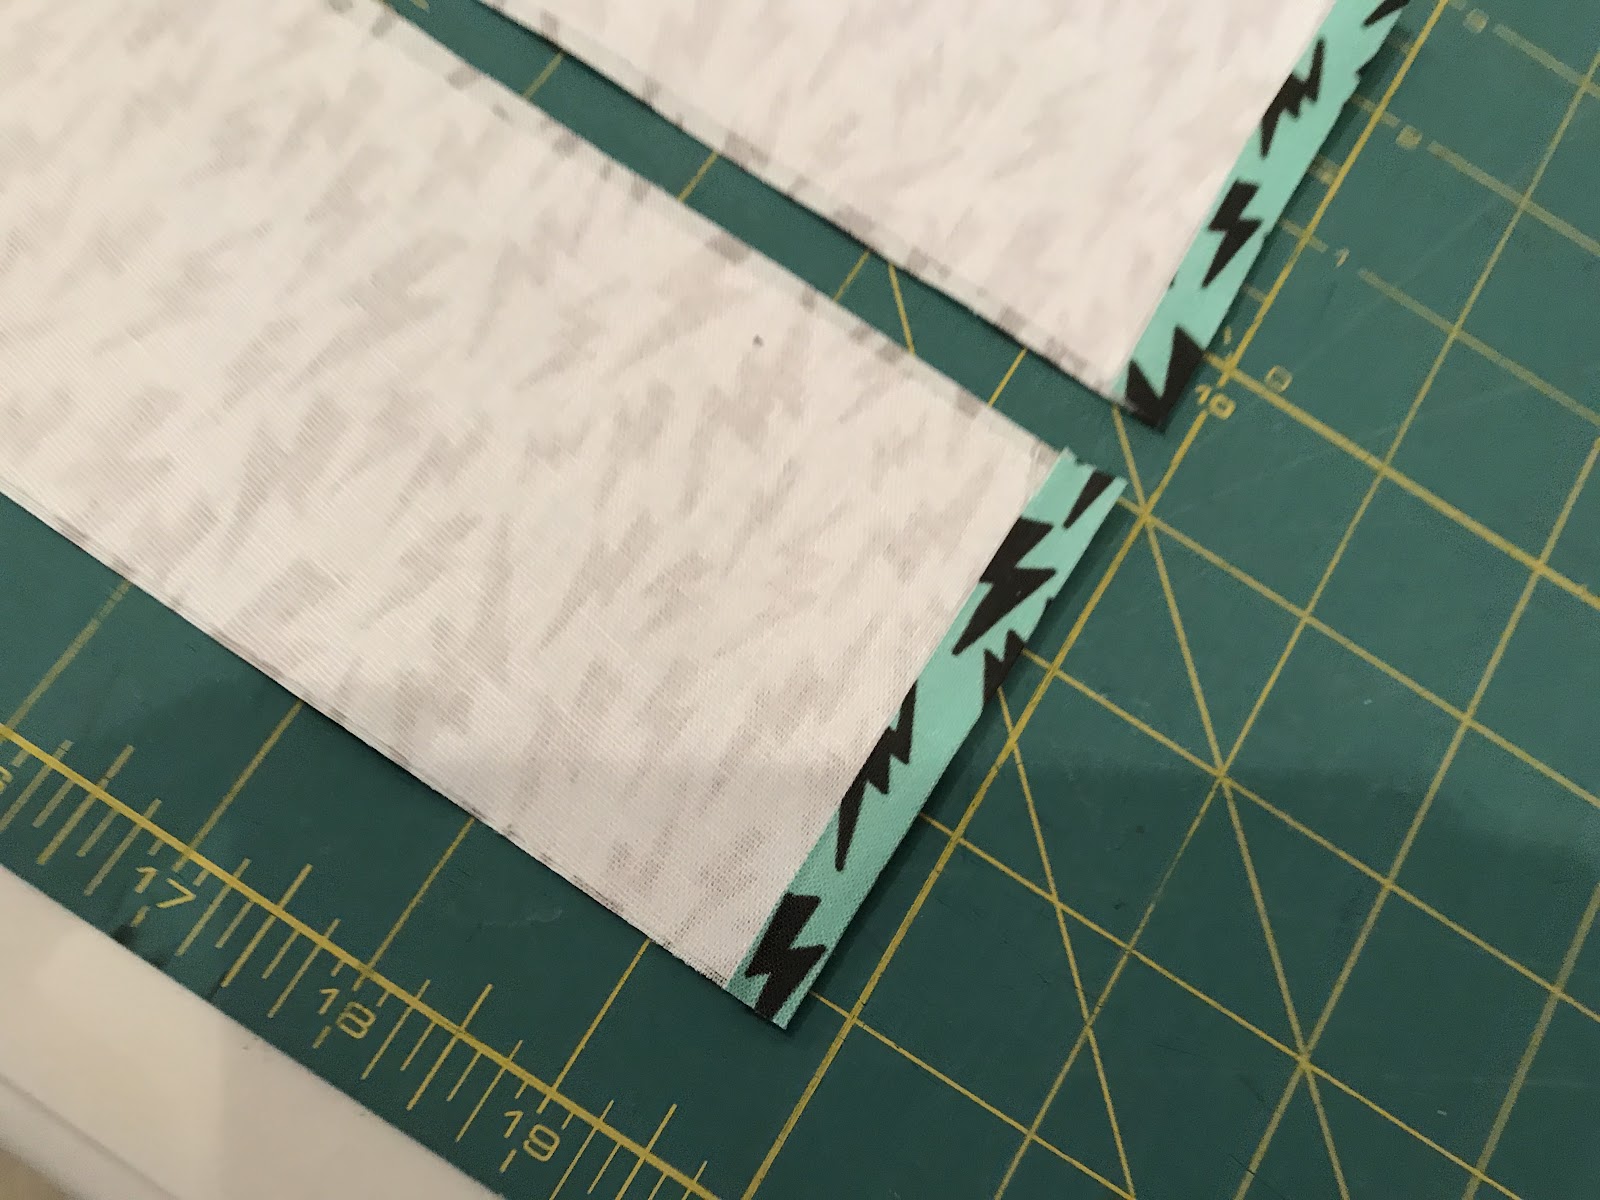
Now, take one piece and fold it lengthwise RIGHT sides together. Press well and then slide your zipper INSIDE, sandwiching your zipper in the casing, with the edge of the zipper snug against the fold. Move your zipper pulls out of the way so you don't have to fiddle with them while sewing.
Pin or clip and sew along that fold.
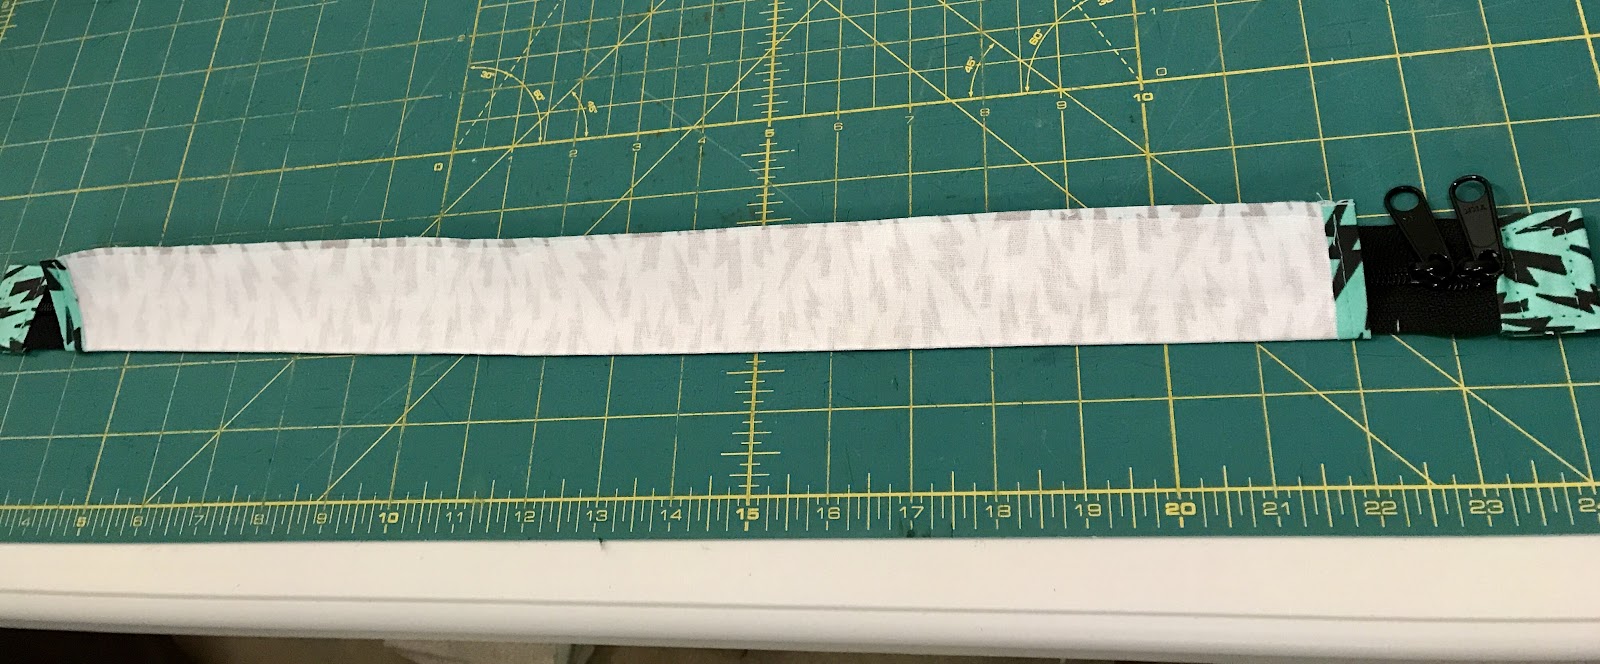
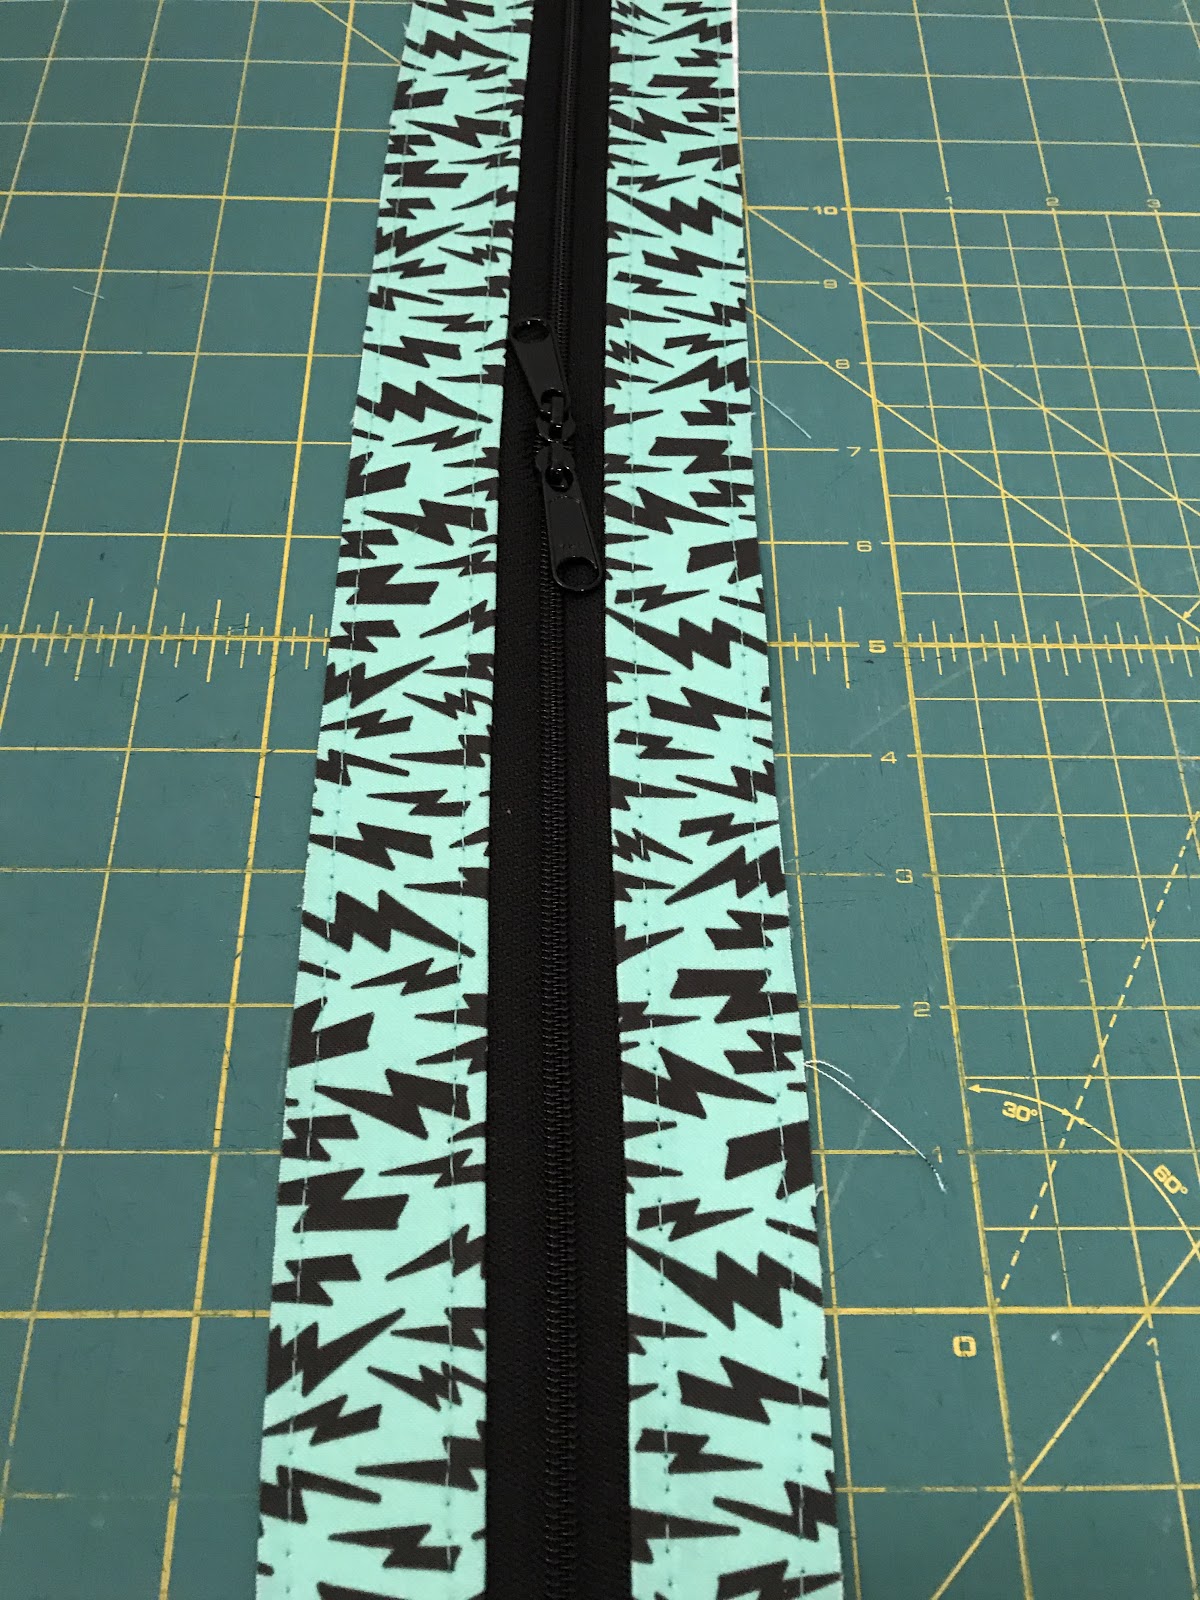
Flip the casing after you've sewn the zipper down so wrong sides are now together. Press well and top stitch along THREE sides of your casing (leaving a short end open to slide your frame in later, as shown here:
The panel should look like this:
Repeat for the other side of the zipper.
Set aside for now.
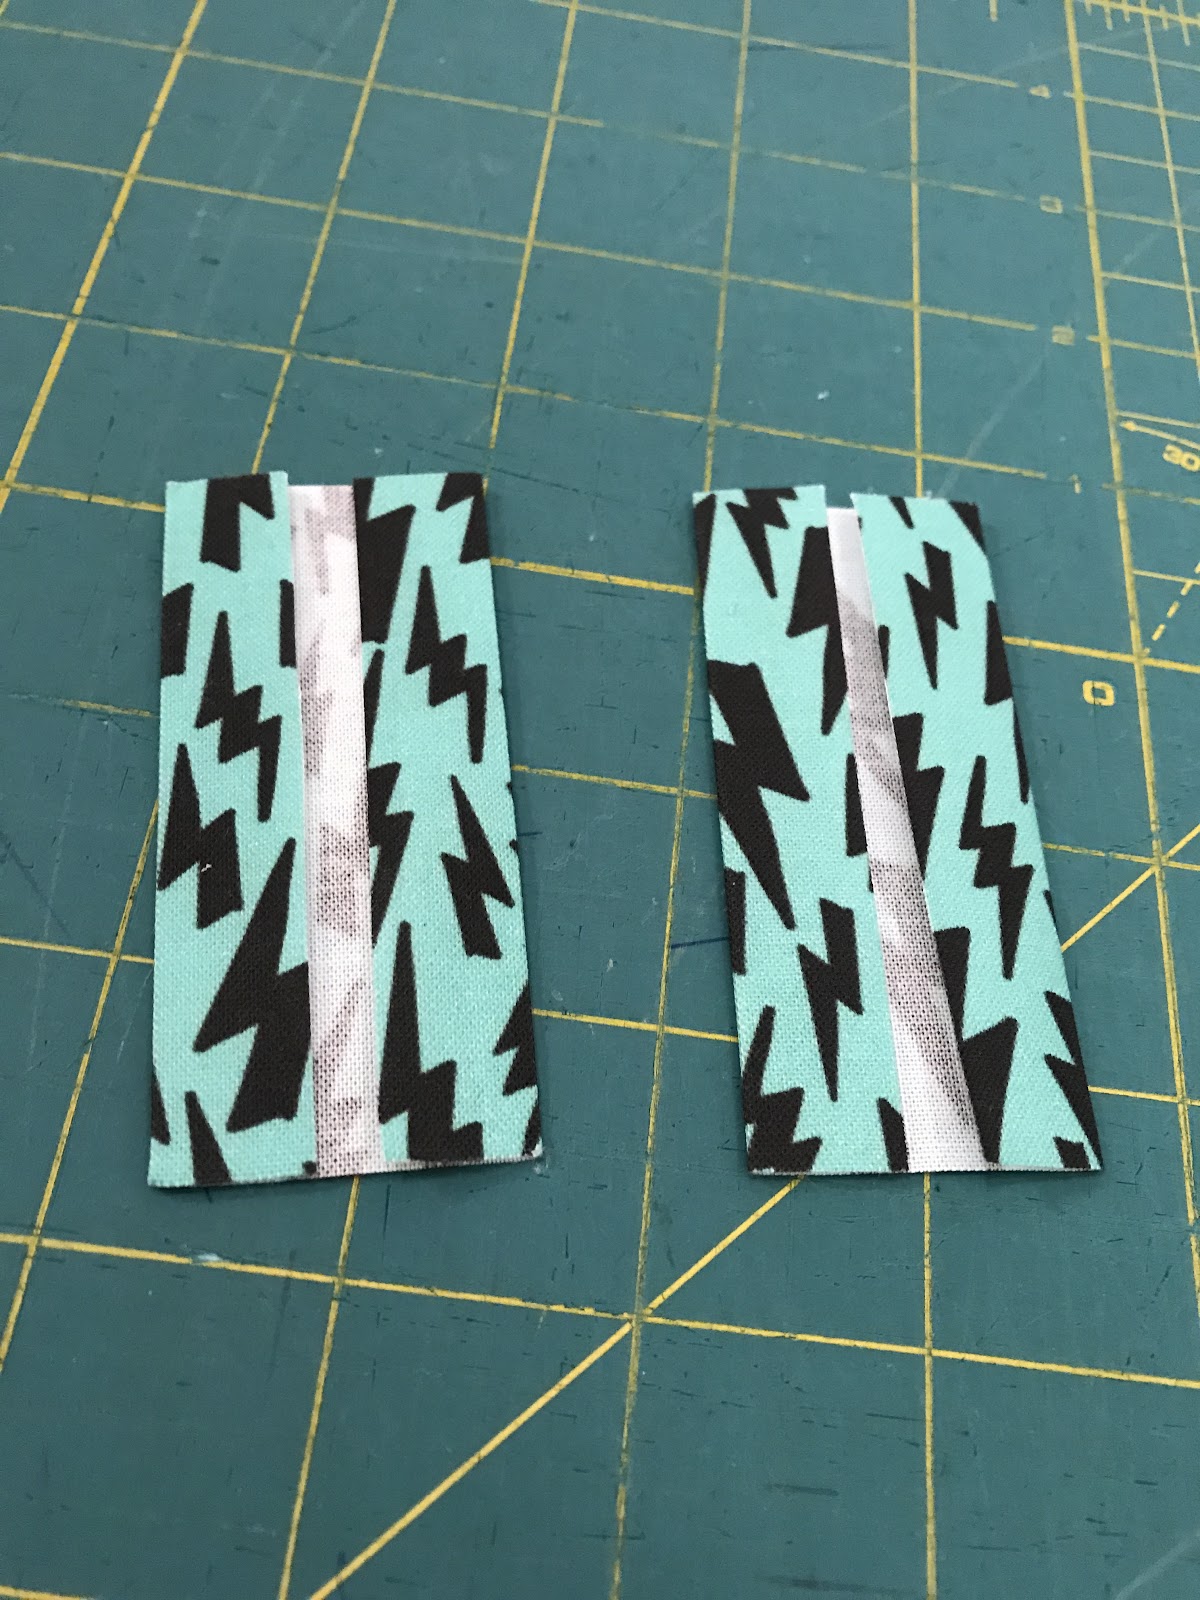
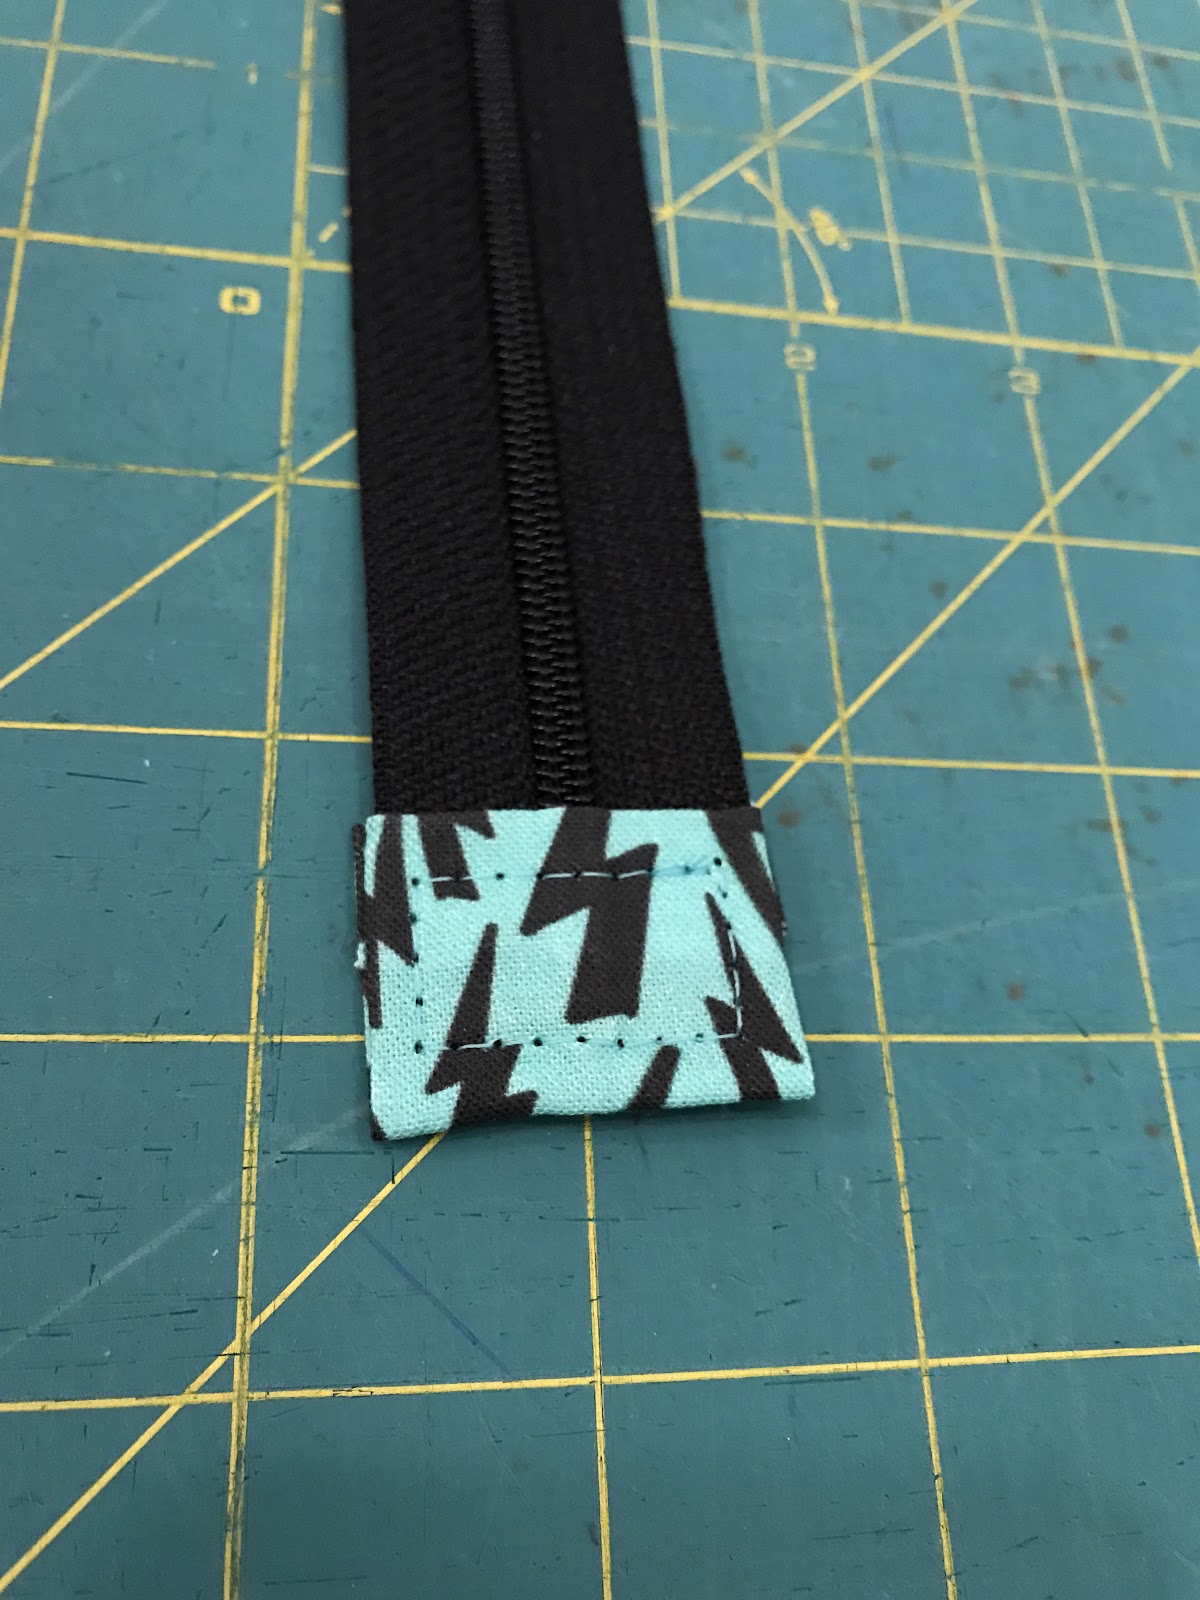
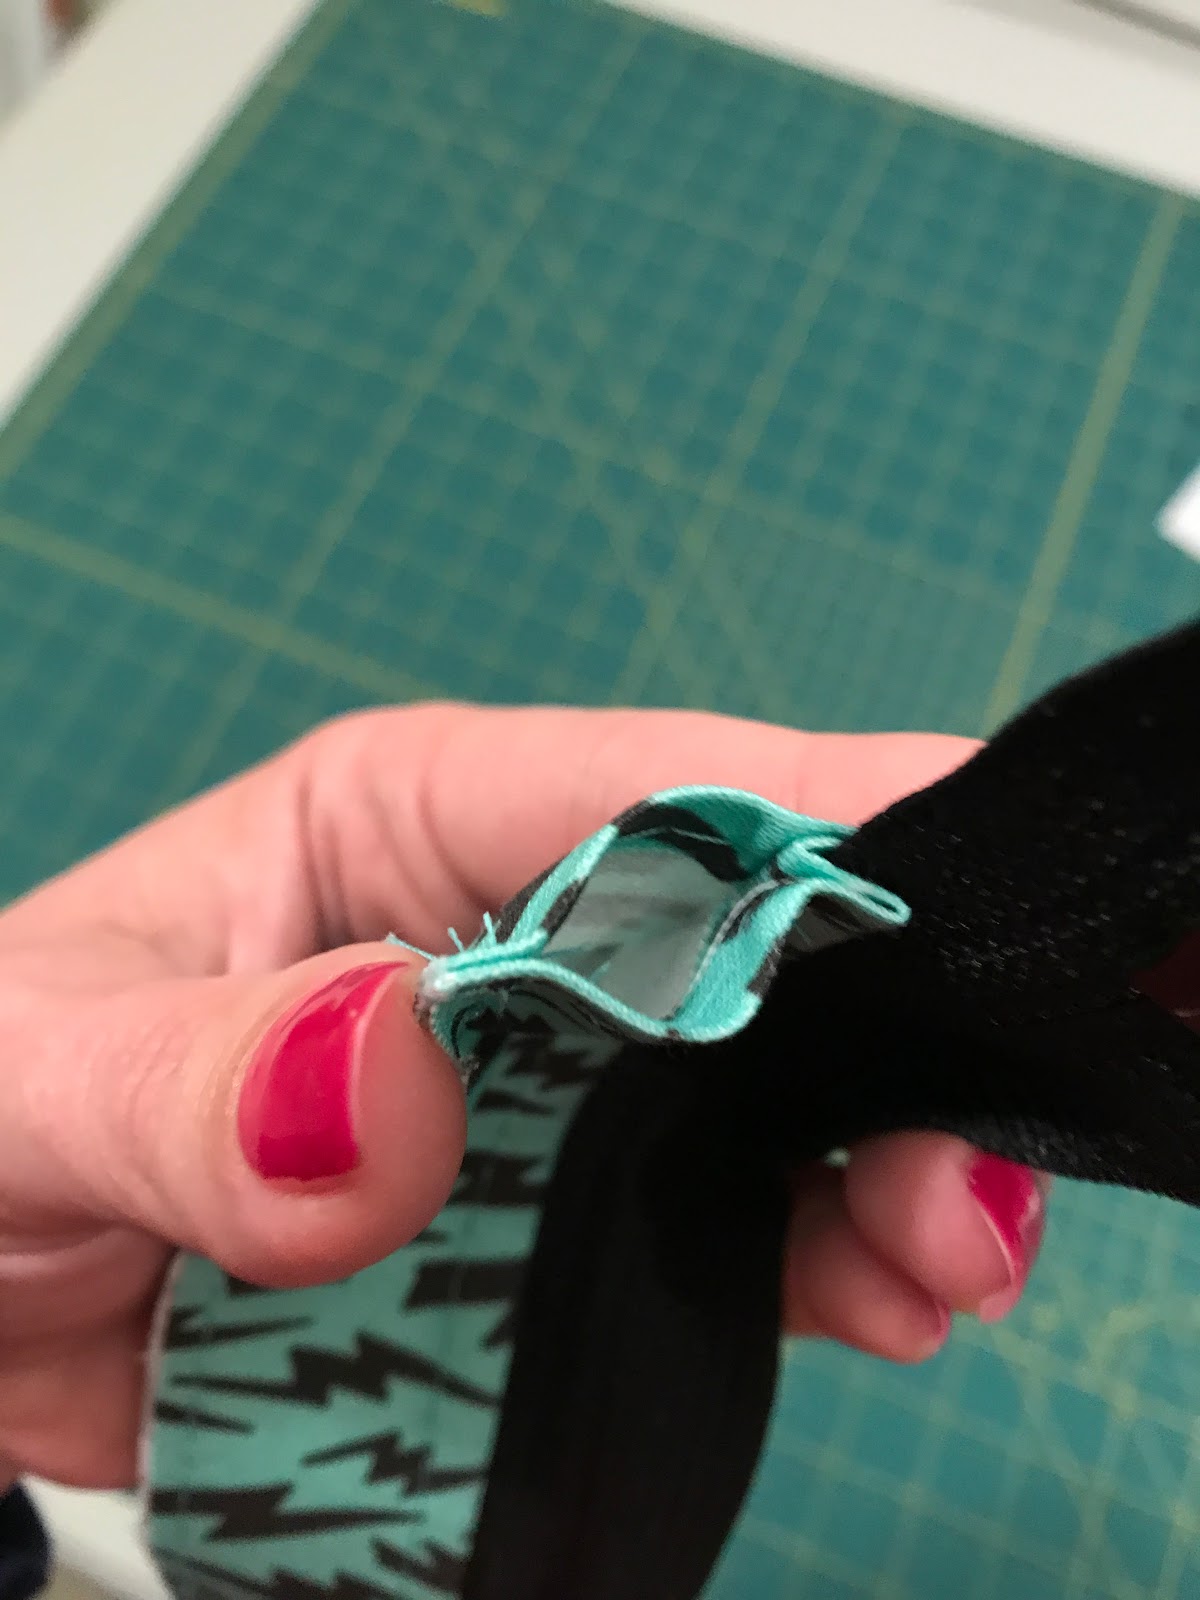
Now we need to make the tabs for our small exterior zip pocket:
Prepare your small zipper for your exterior pocket, cut to length directed in pattern, then secure the end of your zipper (I like to add a small strip of DST at the end to do this).

Press each short side of the tab in 1/4", then press the whole tab in half WST then slide over the ends of your zippers and slide in place over the end of your zippers.

Stitch along the folded edge to secure to your zipper and then repeat for the other tab. Your zipper should look like this now:

And that's it for today! Tomorrow we will put together our zipper pocket so we are all ready to start putting her together on day 4.
Previous Days:
Day 1 of the Sew Along
Previous Days:
Day 1 of the Sew Along


1 comment:
Love the photos you have in this one. Was getting confused (just my mind) a bit about the top zipper tabs. All clear now. Progressing!!
Post a Comment